Projects allow you to organize and manage tasks in an easy way. Whether it is separating different departments, businesses, personal and work tasks, etc. There are tons of ways that projects make sense in your workflow.
Check out the Inbox to learn where tasks without a project live.
To make a project, simply click the “+ Add Project” button at the bottom of the sidebar.
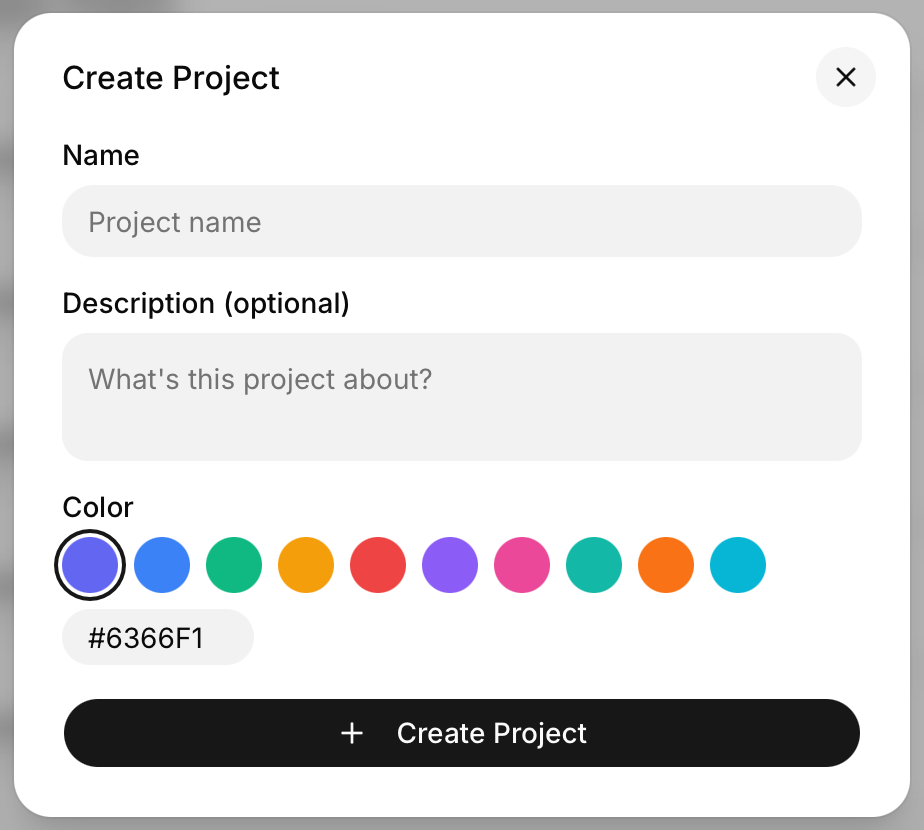
You will then need to name the project and select the color you want the project to be. The project’s color is used for the task color on the calendar. Any tasks within the project will be that color when added to your calendar.
You can also set a project description. This shows at the top of the project page.
Finally, click “+ Create Project” and the new project will be made.
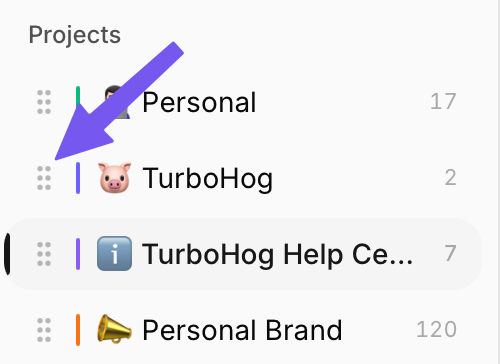
You can use the four dots next to projects in the sidebar to easily drag-and-drop their location and keep things organized.
This can be used to bundle work and personal projects or simply order things in a way that makes the most sense to you.
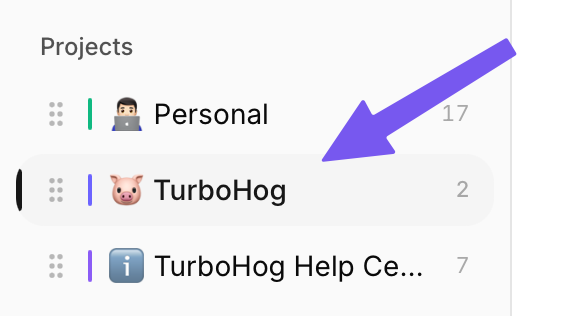
To access a project, you can click on it within the sidebar. That will open up the project page.
Any tasks added to the project will appear here, and you can click on a task within a project to view and edit its details.
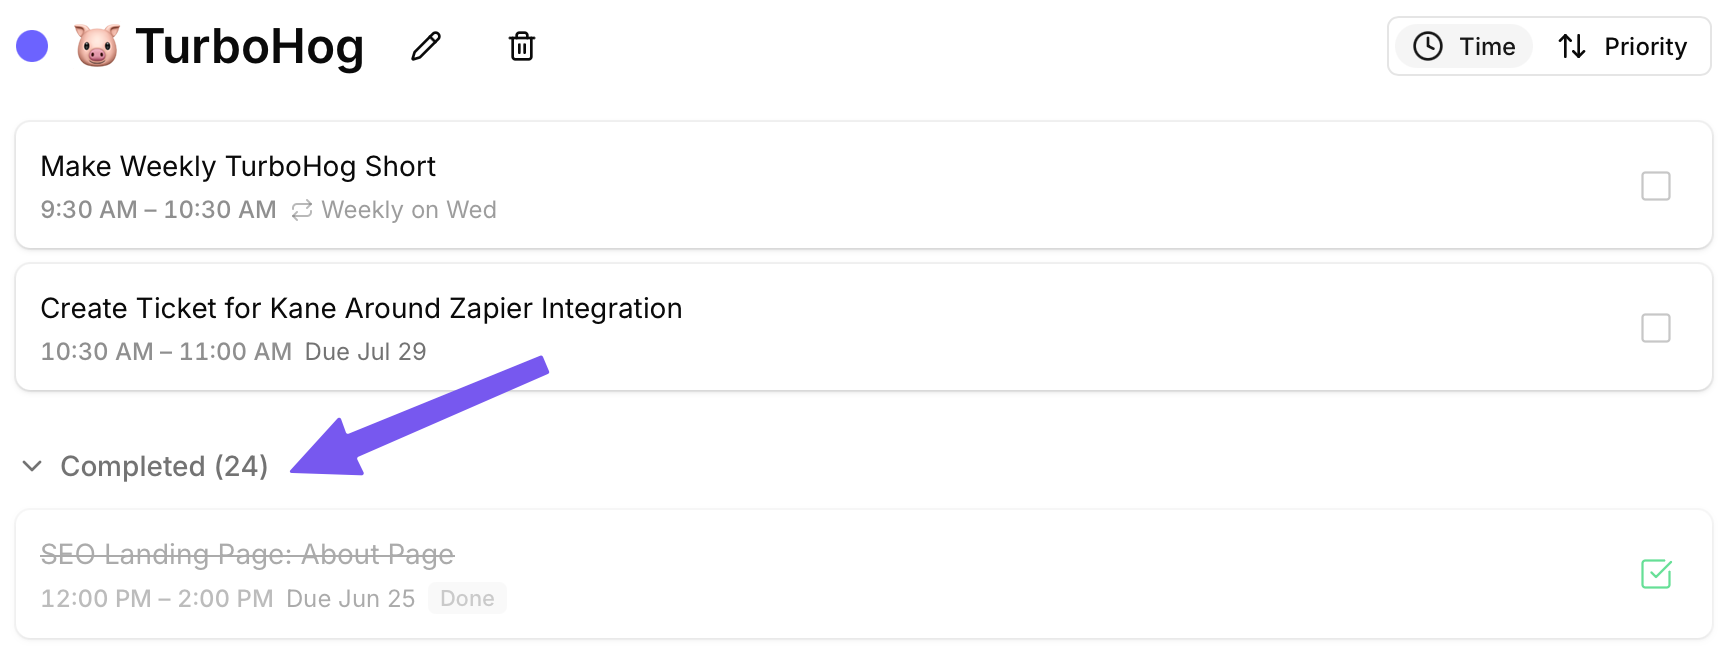
Complete tasks live within the project page. Scroll to the bottom of a project, and you will see a “> Completed” drop-down. Clicking this reveals all of the completed task within the project.
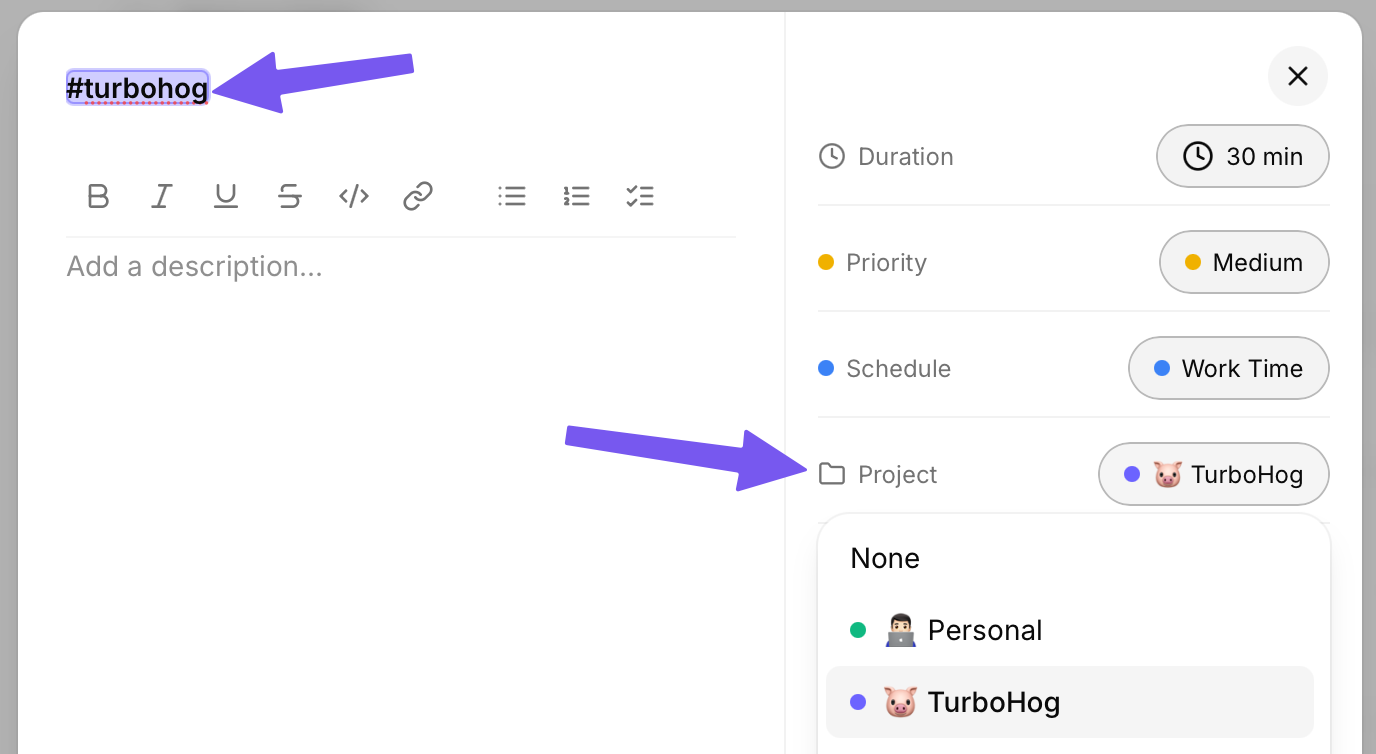
There are two ways to add a task to a project when you are creating it. The first is by clicking the button in the “Project” field on the right-hand side of the create a task module.
However, natural language processing can also be used to add tasks to projects. This is done by typing #projectname within the task’s title.
The project will automatically be recognized, and the task will be added to it.