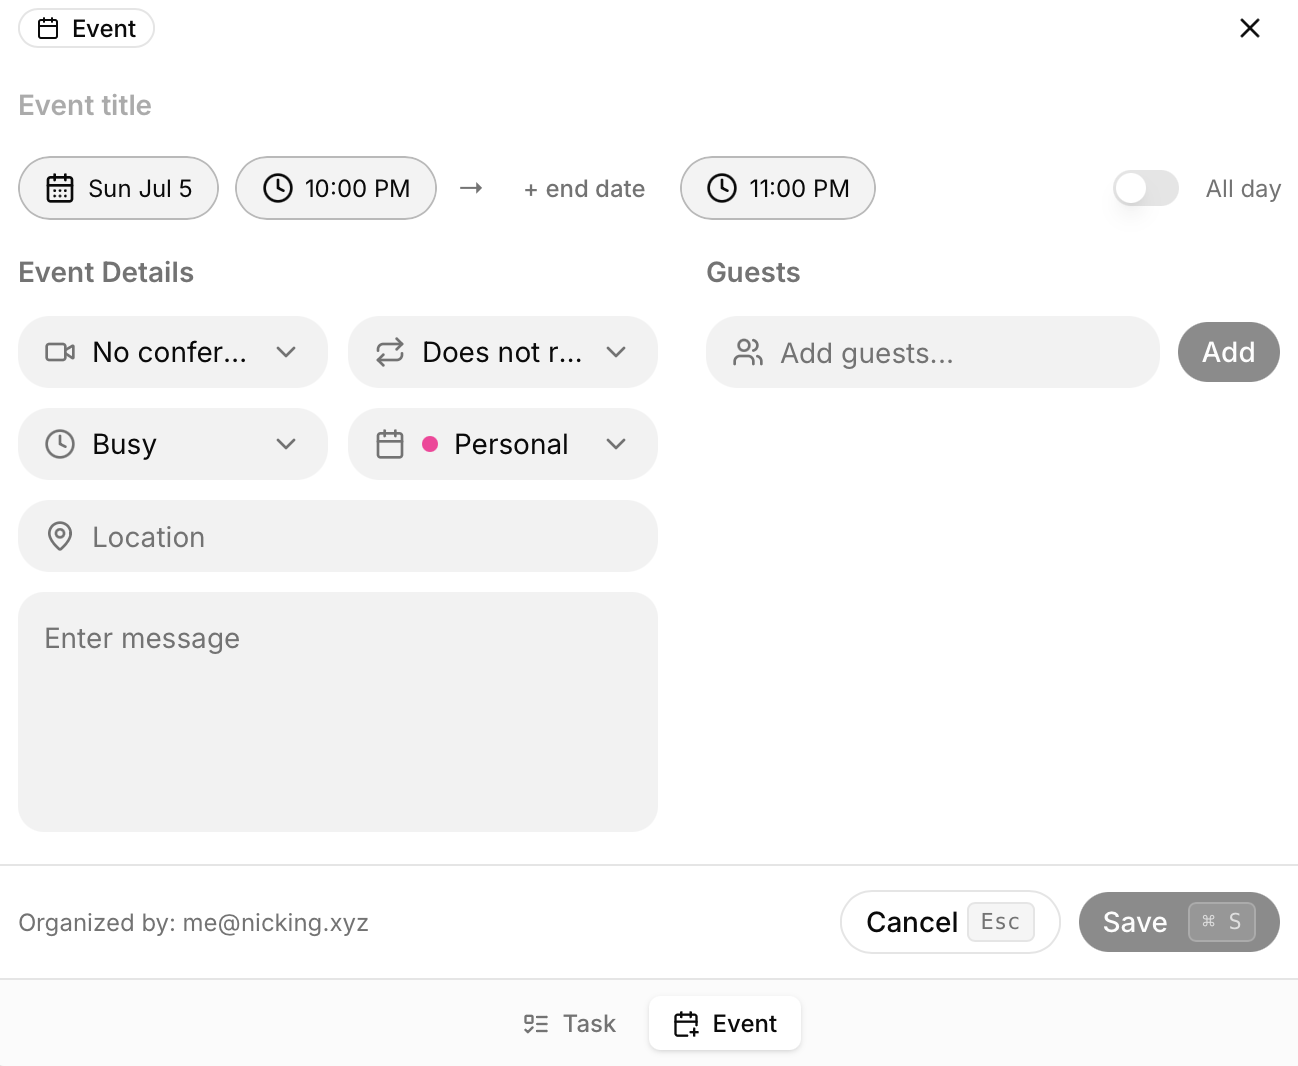
To make a new event, click the “+ Add” button in the top left and select “Event”.
There are a few different details you can add when creating an event.
Event title: This is what the event will show on your calendar once it is created.
Date (starting & end): When the event starts and ends. You can select a date and time, including events that last across multiple days.
All-day toggle: This toggles an event that will last all day. This can be used for out of office, birthdays, holidays, etc.
Conferencing: Selecting “Google Meet” here will automatically create a Google Meet link that automatically syncs to anyone who is invited.
Repeats: This allows you to create recurring events on a daily, weekly, bi-weekly, monthly, or yearly basis.
Busy/Free: Select whether the event is a busy or free time on your calendar. Events listed as free will be ignored by the task planner, and tasks will be scheduled during the event.
Google Calendar: Which of your linked Google Calendars do you want to add this event to? Easily toggle between work and personal for example.
Location: If the event is at a physical location, the address can be added here.
Message/Details: Any notes or details that you will want to make about the event. Invited guests will be able to see these details.
Guests: Email addresses of guests you want to invite to the event. You can add as many guests as you want, and they will receive an email that they have been invited.
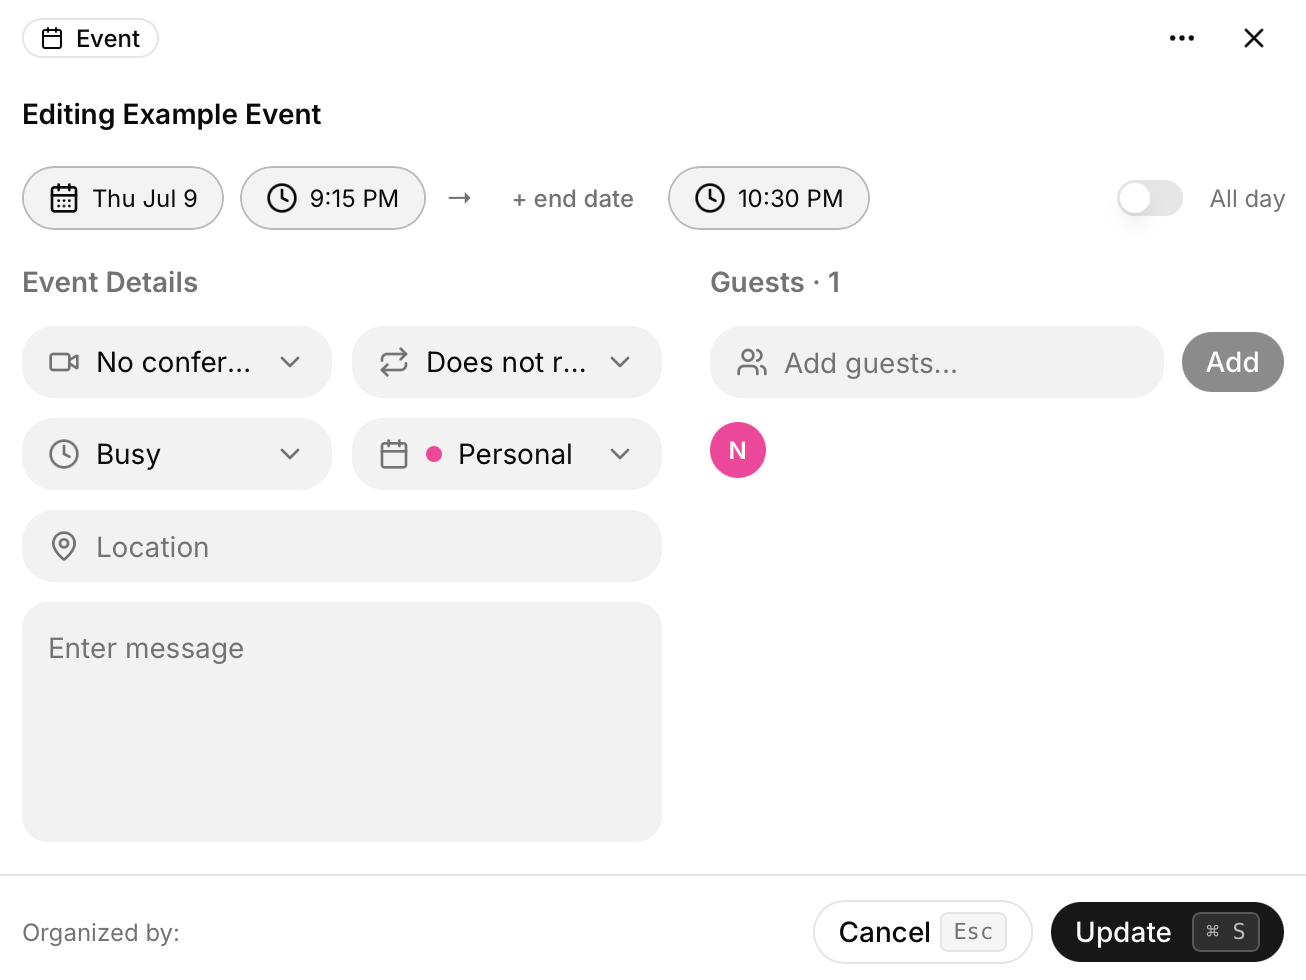
Editing Existing Events
You can edit any of the details available on an event. This can be done by clicking on the event on your calendar or tasks tab.
Any changes made to events here will be synced to anyone invited to the event.
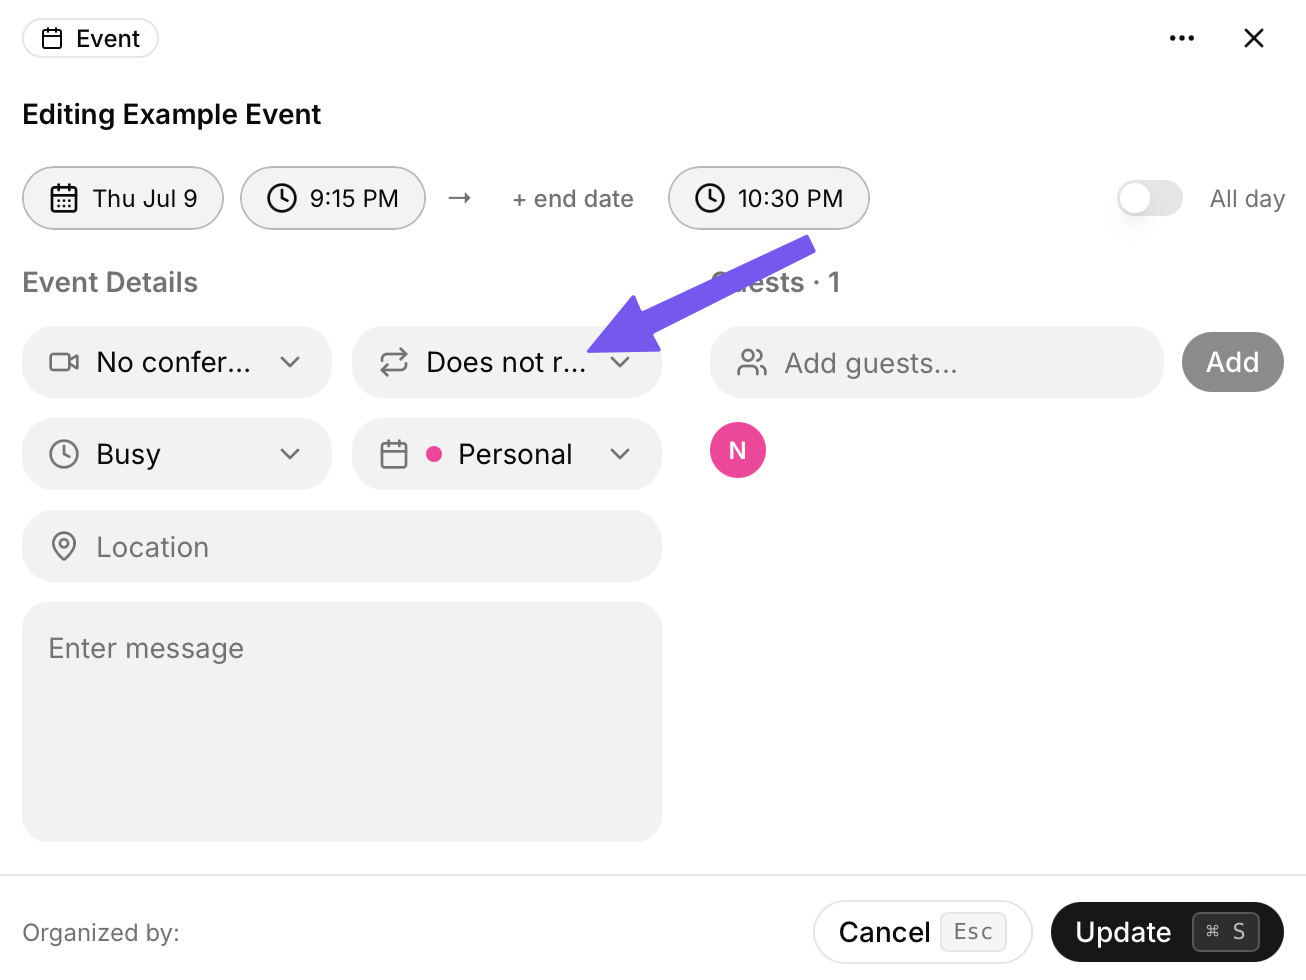
Recurring Events
You can create recurring events by selecting an option from the Repeats drop-down. Options are daily, weekly, bi-weekly, monthly, or yearly.
You can edit specific recurring events or every recurring event when making an edit. This allows you to move a recurring event one day without affecting all instances of that event.
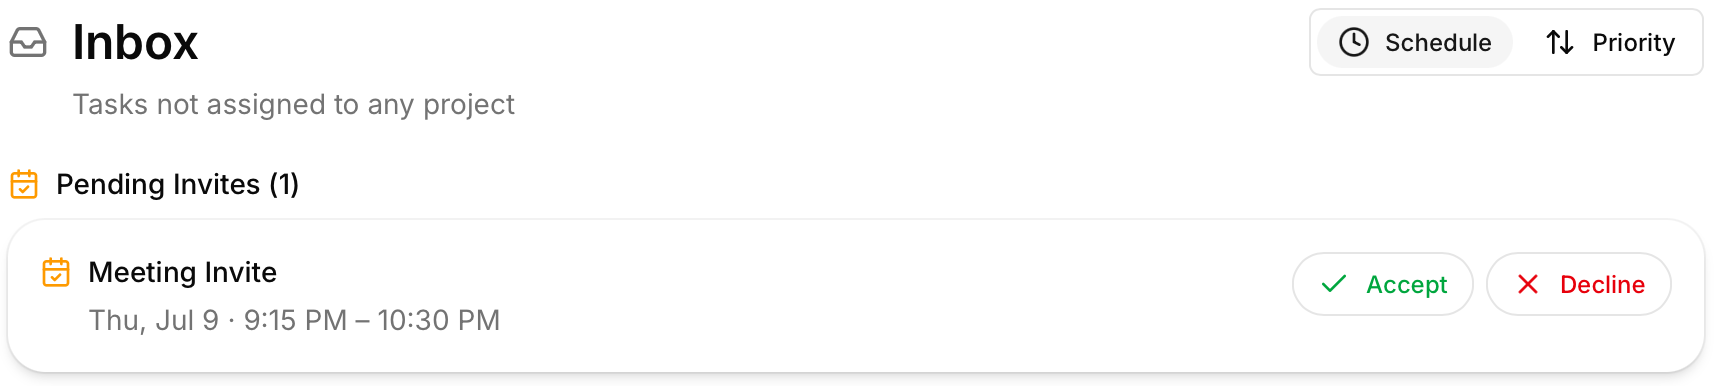
Manage Event Invites
Event invites can be managed completely in TurboHog. When you are invited to an event by someone else, it appears in your “Inbox” tab. From there, you can accept or deny the event. If it is accepted, it will automatically be added to your calendar.